
Sunday, August 07, 2011

When a friend of mine heard that I'd bought a new camera, he joked that he was going to quiz me on ISO and Shutter Speeds on the following Monday. It's a good thing he was joking because I had zero idea what he was talking about :) Since I'm a total beginner at photography I asked around for book suggestions and was told by several people that Understanding Exposure
One of the first things it had me do was set the camera to M (manual mode) and go out in the back yard to try and get a "Correct Exposure". First of all...this was horrifying since I've never even tried shooting Manual Mode before. Also, I had no idea what a Correct Exposure was, so I went back to the manual on my camera to see if I could figure it out.


Bryan gives a great example for how Aperture, ISO and Shutter Speed work together to creating an exposure. He describes the lens opening (Aperture) as a kitchen faucet opening at f/11 and imagine there are 200 worker bees(ISO) with buckets below the opening of the faucet. The water coming through the faucet is the light and the shutter speed needs to be set correctly so that the exact amount of water comes through to fill the 200 buckets exactly. This is what setting the shutter speed does for an exposure and when it shows Correct Exposure then you have the right setting for that shot.
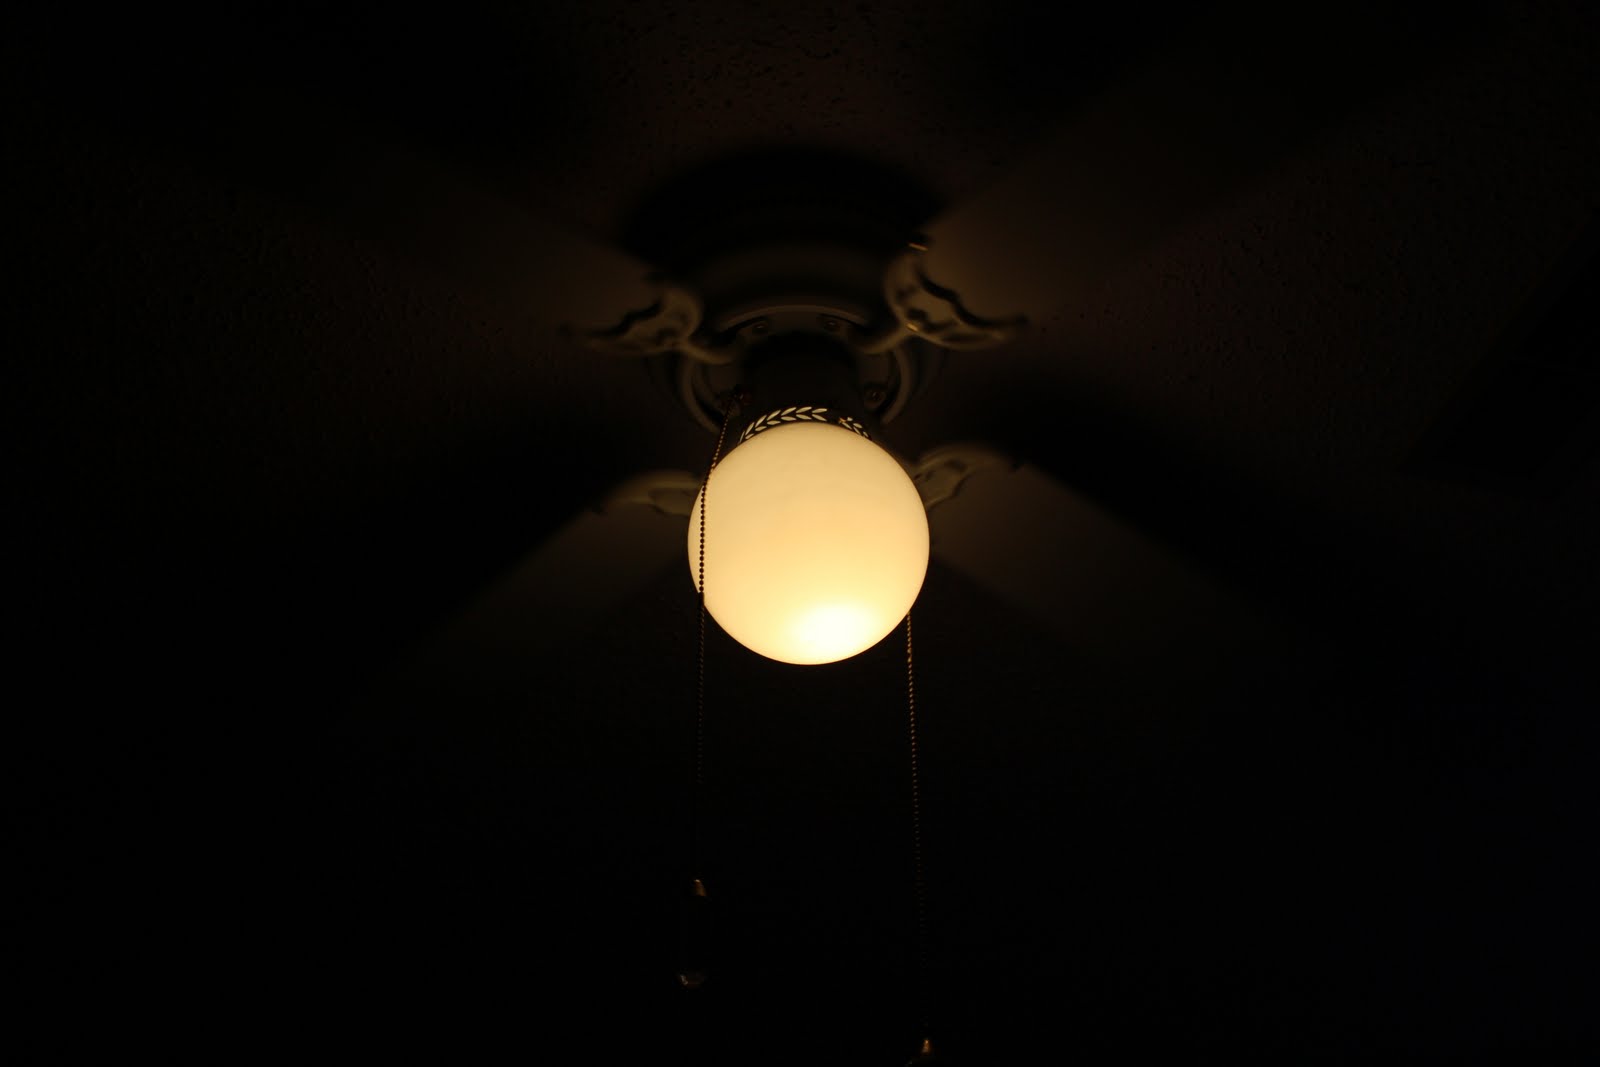
The next thing I learned is there are multiple Correct Exposures for a shot depending on what you set the ISO and Aperture to. Each shot has a different result depending on motion in the scene, etc...but they are still all "correct". To give an example of what I mean, I've taken the same shot of my moving ceiling fan three times with the Aperture at f/8 and different ISO settings.


Anyway, this gives you a look into what I'm currently learning and I'm having a blast with it. I'm attempting to learn what I can before our Disney World trip in a week...wish me luck!
You should follow me on Twitter and Facebook. You can also subscribe via RSS or email. Please support the blog by doing your Amazon.com purchases through this link.
See other Photography posts


Post a Comment